In this article :
Choose your images
Before adding an image to your template, check :
- The weight of your image : The system will not accept images bigger than 10 Mb.
- The format of your image : Accepted formats are : JPG (RGB), GIF and PNG (8 or 24).
- The resolution of your image : Recommended resolution is 72 DPI.
To get the best results possible with your images, read our recommendations here. You will also find tips concerning the size of your images depending of where you would like to insert them: in an image block, a text block or a template created with HTML code.
Add an image in an image block in the premade or basic templates
Here is a preview of the box Image properties, found in the side pannel followed by a legend explaining each feature:
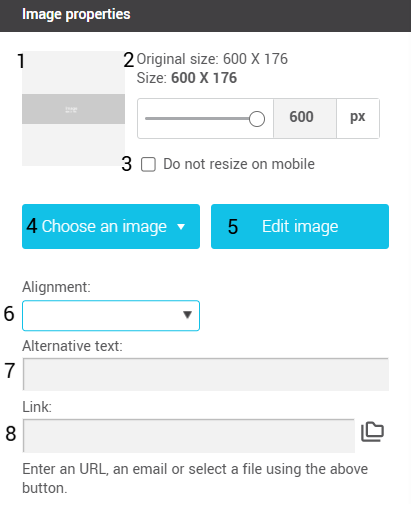
- Image Preview : The image blocks display the recommended dimensions for your image. If you uncheck the Do not resize on mobile option, the image may exceed the suggested dimensions. In this case, the block's height will automatically adjust to fit your layout.
- Dimensions of your image : Displays the current size of your image and the recommended size for the block. If you change the size of your image, you might need to refresh your browser for the information to update.
Note: In the image blocks of the editor, the system will automatically adjust your images so they won't exceed the maximum width of the block.
- Do not resize on mobile : When the box is checked, the image takes the exact dimensions of the image box. When the box is unchecked, the image is constricted to the maximum width of the image block if its real size exceeds the maximum width of the block and the height will adjust proportionally to respect the initial image format. If the width of the image is inferior to the image block, the image will keep its original size.
- Choose an image : This is the button giving you access to your image folder to choose the image to add to your template. You can also access your image folder outside the template builder. Simply click on the folder icon on the menu at the top-right corner of the screen.
- Edit image : This is the button giving you access to the tools you can use to edit your image (crop, add text etc.)
- Alignment : This option is only visible when you have unchecked use these dimensions. It allows you to decide the horizontal alignment of your image.
- Alternative text : this is the text that will replace your image if it is not displayed in the email. This field is optional but we strongly recommend filling it. It also helps your email not to be flagged as spam.
- Link : This option allows you to add a link to your image (to a website, an email address, a phone number, or a file, such as a PDF, a Word document, or an image).
- To link to a website, copy-paste or write down the URL of the website in the empty field.
- To a link to an email, simply write down the email adress.
- To add a link to a phone number, type "tel:" followed by your phone number, without spaces. For example: tel:5555555555.
- To add a file, simply click on the button besides the empty field. It will open your files folder. All you will have to do next is select the correct file to add.
Don't forget to test your link.
To add a new image in an image block or change one already in place, here is how to proceed :
- click on the image you wish to change. In the side panel, find the Image properties section.
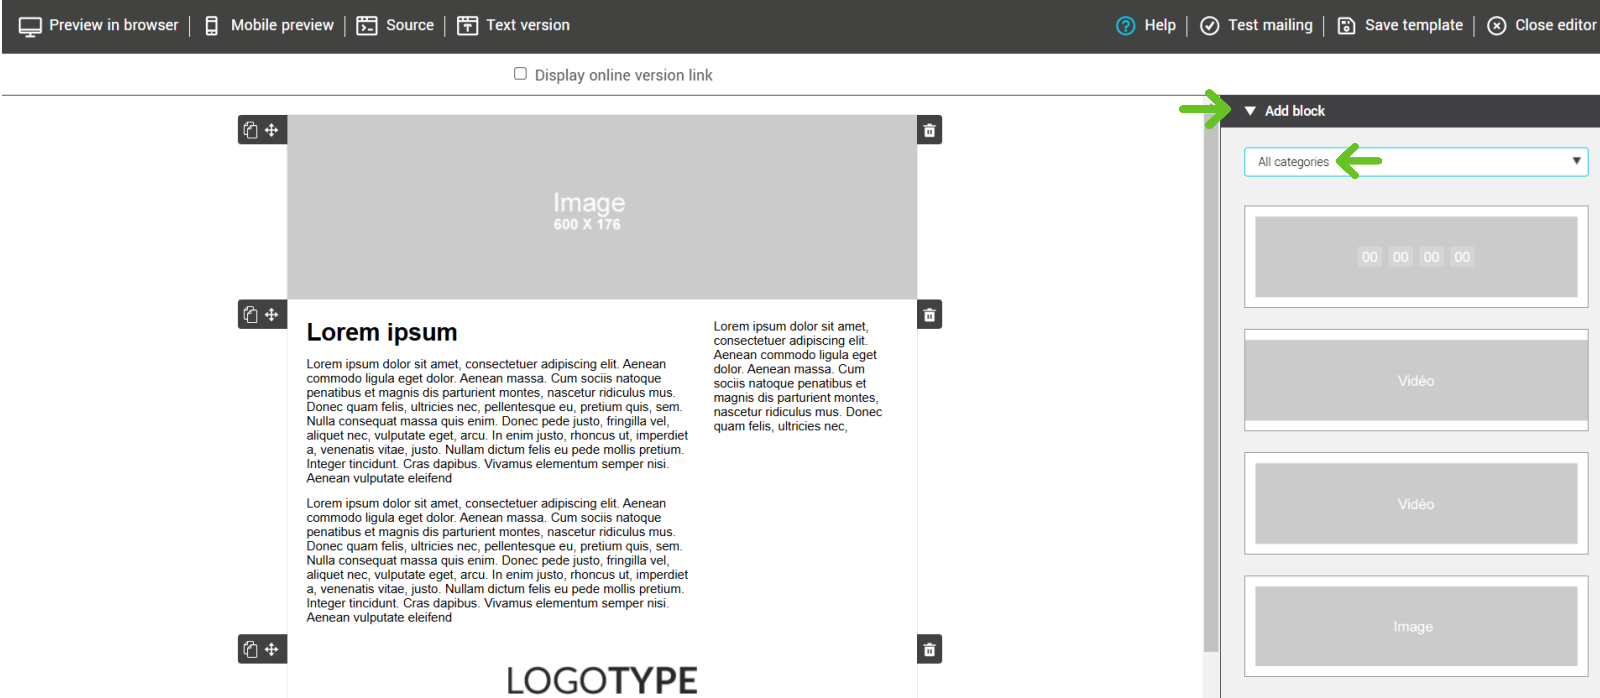
If you do not have an image block in your layout, you can add one this way : drag and drop a block from the side panel on the right. If the add a block panel is closed, you can open it by clicking the white triangle. Once opened, the panel offers you several choices of blocks in 1,2,3 or 4 columns, plus a few other blocks like the social networks or video block. You can use the category filter to make your search easier.
Note: If the new block you added is not at the right place, press on the move block icon (the double arrows on the top left corner of your block) and drag the block where you want it, holding the mouse button down until it's correctly placed.
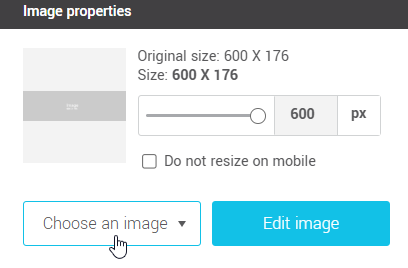
- After clicking on the image you wish to add/replace, click on the Choose image button from the Image properties side panel. This will open your files folder.
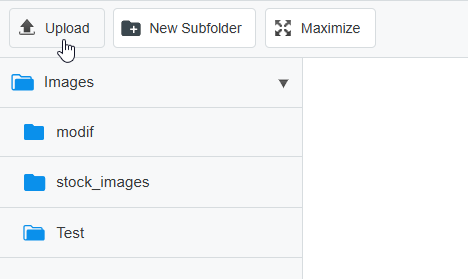
- To add a new image, click on the Upload button located on the top of the window. Select the file on your computer and click on Open. If necessary, click on Add file to confirm.
- Your image will be sent to the current file and will be displayed amongst the others.
- To choose the image you wish to insert in your template, double-click on it.
- You will then go back to the editor. In the side panel, you will be able to resize the image, change its alignment and add a link or an alternative text.
Your image seems squashed or stretched in the preview?
If your image looks squashed or stretched in the preview, uncheck the Use these dimensions option for the image to go back to its normal proportions. Don't worry if your image goes beyond the dotted line, it will not be cropped. Once the Use these dimesnions option is unchecked, you will be able to adjust the alignement of your image by selecting a choice in the dropdown menu.
Add and image to a text block in a premade or basic template
It is possible to add an image to a text block in a premade or basic template. It is particularly useful if you wish to add small icons. For bigger images, we don't recommend to add them to a text block : use our image blocks instead! There are all types of sizes and formats rows where you can find text and images, don't hesitate to look at our available blocks!
You have to be very careful with the size of the images you insert in a text block: contrary to the image block, images inserted in a text block are not restricted to the dimensions of the block and they appear in their real size. You will have to make sure your image is in the right format before uploading it into the application. If your image exceeds the width of the text block, it could cause layout problems in your email such as misplacement of columns or your email!
Here is how to proceed to add an image to a text block :
- In your template, click in your text block at the place you wish to add your image. If you don't have a text block in your layout, you can select one in the Add a block section of the side panel.
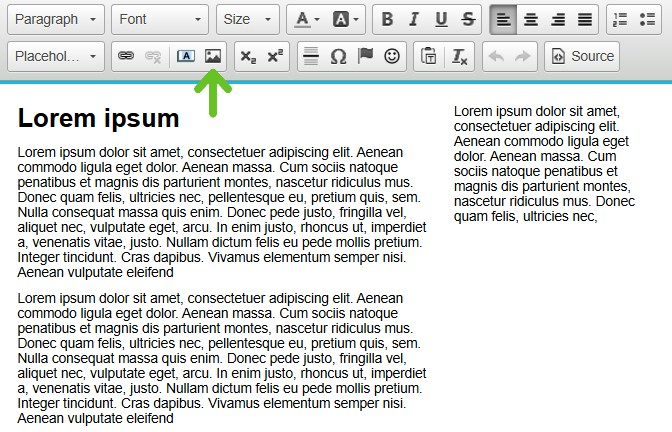
- After clicking in the text zone at the right place for your image, a small tool bar will open at the top of your block.
- Click on the Image button.
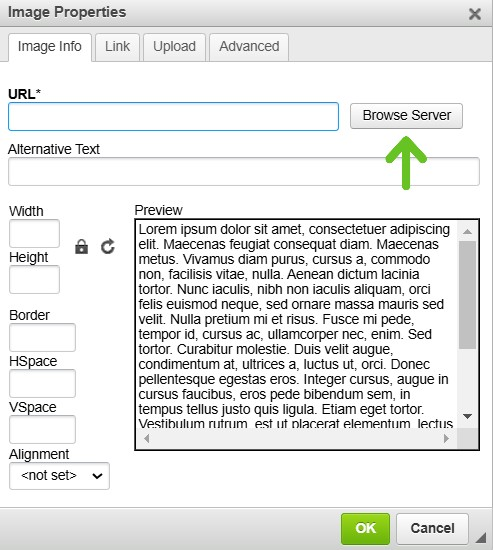
- Then click on Browse Server. A second window will open. It is your files folder.
- To add a new image, click on the Upload button located on the top of the window. Select the file on your computer and click on Open. If necessary, click on Add file to confirm.
- Your image will be sent to the current file and will be displayed amongst the others.
- To choose the image you want to insert in your template, double-click on it, You will go back to your template and the image will appear where you initially clicked in the text block.
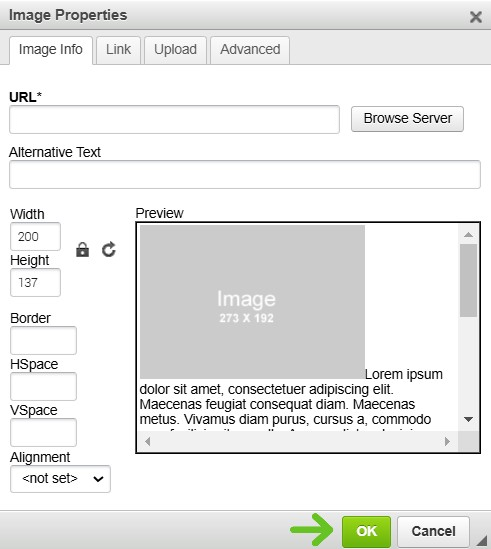
- To edit you image properties, double-click on it to open the Image properties box. Click OK to save your changes.
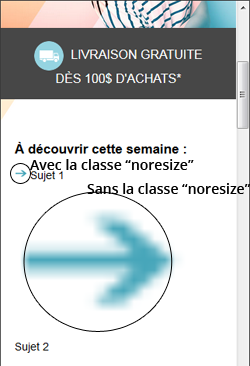
The small image inserted in your text block is blown up and blurry in the mobile preview?
On mobile devices (for example iPhone), images inserted in a text block can be resized to be displayed at full width on the screen of the device. To avoid your images being blurry and blown up on a mobile screen, you need to add in the properties of your image the "noresize" CSS class. Click here to learn how.
See in the image underneath the difference between an image on which we applied the "noresize" class and one on which it's not :
Add an image to a template created with HTML code
In the HTML code mode (templates and mailings created in the HTML code mode have this icon to the right of their names : ![]()
![]() ), like in a text block from the premade and basic templates, the aplication do not resize automatically your images according to the available space. You will need to make sure your images are in the right format before sending them on the server. Here are a few image editor online that are free and can help you : Pixlr, PicResize, ResizeYourImage.
), like in a text block from the premade and basic templates, the aplication do not resize automatically your images according to the available space. You will need to make sure your images are in the right format before sending them on the server. Here are a few image editor online that are free and can help you : Pixlr, PicResize, ResizeYourImage.
If your images are too big, they might be over the maximum weight limit of 10 Mo accepted by the system. Additionaly, your email may be very long to load. It is better to work on your images beforehand.
To add an image in the HTML mode :
- In the editor, Click where you want to add your image.
- Click the Image button in the toolbar. A window with the image properties will open.

- Click on the Browse server button. A second window will open. It is your files folder.
- To add a new image, click on the Upload button located on the top of the window. Select the file on your computer and click on Open. If necessary, click on Add file to confirm.
- Your image will be sent to the current folder and will be displayed amongst the others.
- To choose the image you wish to insert in your template, double-click on it.
- You will go back to the positionning window and will be able to resize your image or click OK to confirm the insertion.
Problems while importing an image
When uploading images on the server, it is important not to put any spaces or special characters in the name of your file. Apostrophes and accents are also to avoid.
You have to be careful with the type of JPG file when you save. JPG files must not be saved in the CMYK (format used for press), but in a RGB format. The CMYK format is not supported by web browsers which creates layout and display problems.
Deleting an image
Here is how to proceed to delete an image from your files folder. However, before deleting, it is important to read the following :
To delete an image :
- Access your images folder. You can access your images folder by opening an existing or a new template or by clicking the folder icon in the menu at the top-right of the screen.
- From a template, click on the image in an image block, then click the Choose an image button from the side panel. If you are in a HTML code mode, click on the image button in the second row then Browse Server.
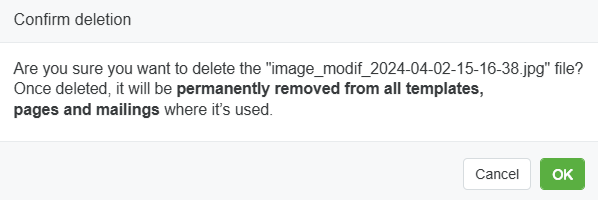
- In your Images folder, click on the thumbnail of the picture you wish to delete and click the Delete button in the top menu.
- Click OK to confirm the supression.
Note: You can only delete images. It is not possible to drag images to subfolders or move them.
You deleted an image by mistake? You can correct your mistake by uploading your image again and giving it the same name than the one you deleted.
Warning! If you delete an image that you previously used and upload a new one with the same name (but a different image), the last image uploaded will replace the old image in your previous mailings and in the templates where it was used.
How to help manage your images
You can create subfolders to better sort the images you will upload in the application.
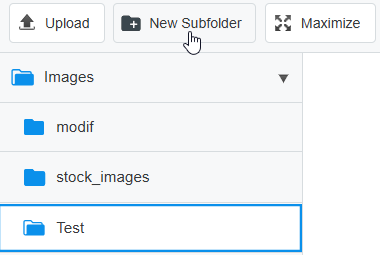
To create a new subolder in your files folder, click on the button New subfolder from the top menu. A window will open to name your subfolder. Click OK when done and your subfolder will be added. Click the triangle beside the folder to make the list of your subfolders appear if you can't see them.
Inserting a background image
It is possible to insert a background image to your email. To learn how, follow the steps in this link.
Click here to know more about background images.